
Whether you want to add a touch of elegance or a dash of whimsy, you can can turn your porch into a beautiful and welcoming space with a laser die cutter. Let your creativity take center stage, as you transform your porch into a captivating space that reflects your unique style and personality.
Gather Materials and Inspiration
Before you begin your laser cutting journey, it’s important to gather all the necessary materials and find inspiration for your designs. Start by making a list of supplies you will need for your porch decor. This may include various types of materials, adhesive, paint, and any other embellishments you plan to use. Once you have your supplies in order, browse online for design ideas. There are countless websites, blogs, and social media platforms that offer a wealth of inspiration for laser cut home decor. Take the time to explore different styles and themes to find the perfect fit for your porch. Finally, if you’re feeling particularly creative, sketch out your own designs. This will give your items a unique and personal touch.
12 Laser Cut Porch Decor Ideas
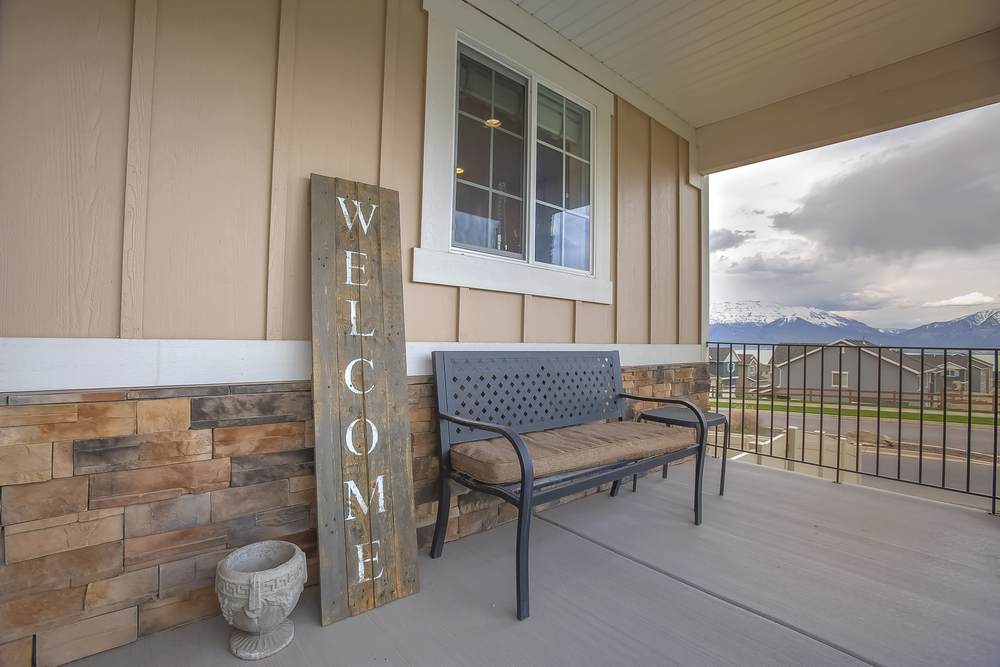
- Custom welcome signs
- Planters
- Lanterns and candle holders
- Wind chimes
- Wall art
- Coasters
- Doormats
- Seasonal decorations
- Furniture accents and embellishments
- Nameplates and address plaques
- Sun catchers
- Bird feeders
Design and Prepare Your Template
To bring your laser cut decor to life, you’ll need to design and prepare a template. Choose a software program that is compatible with your laser cutter and that you feel comfortable using. There are many options available, ranging from user-friendly design software to more advanced programs with extensive capabilities. Once you have selected a software program, create or import your design. This can be done by drawing directly in the program or by importing existing design files. Adjust the settings for cutting, such as the cutting speed and power, depending on the material you will be working with.
Select the Right Material for Your Decor
When it comes to selecting materials for your porch decor, there are a few factors to consider. First and foremost, think about durability and weather resistance. Since the decorative items will be exposed to the elements on your porch, it’s important to choose materials that can withstand outdoor conditions. Consider using materials such as acrylic, weather-resistant wood, or metal. Additionally, there are a wide variety of materials available specifically for laser cutting, so explore different options to find the perfect fit for your project. Before proceeding with your final design, it’s a good idea to test a sample cut on the chosen material to ensure it meets your expectations.
Cutting Your Pieces
With your design ready to go, it’s time to start cutting your pieces. Carefully place your material in the laser cutter, making sure it is positioned correctly for the desired cut. Double-check all the settings and alignment before proceeding to avoid any mistakes. Once you are confident in the setup, press the ‘Start’ button to begin the cutting process. As the machine works its magic, watch the intricate details of your design come to life. Be patient and attentive during this step to ensure the best possible outcome for your creations.
Removing and Finishing Your Decor
Once the cutting process is complete, it’s time to remove the cut pieces from the cutting bed. Be gentle when handling them to prevent any damage. After removing the pieces, clean up any residual residue left behind by the cutting process. Use a soft cloth or brush to wipe away any debris. If desired, you can further enhance the appearance of your items by sanding and painting them. Sanding will smooth out any rough edges, while painting can add a pop of color or create a more polished look.
Assembling and Mounting Your Creations
Now that your laser cut decor items are ready, it’s time to assemble and mount them on your porch. Arrange the cut pieces according to your design, ensuring they fit together seamlessly. Depending on the complexity of your design, you may need to secure the pieces with glue or screws. Take your time during this step to ensure everything is properly aligned and securely attached. Once everything is in place, carefully attach the decor to your porch. This may involve using adhesive, screws, or other mounting materials. Step back and admire your handiwork as your porch transforms into a personalized, laser-cut oasis.
Getting Creative with Laser Cut Porch Decor
With the basics of laser cut porch decor mastered, it’s time to let your creativity shine. Experiment with different designs and styles to find new and unique ways to enhance your porch. Using multiple layers of laser cut pieces will create a 3D effect that adds depth and dimension to your items. You could personalize your creations by incorporating family names or initials into your designs. Whether you prefer intricate patterns, playful shapes, or meaningful symbols, laser cut decorative pieces offer endless possibilities for expressing your individuality and making a statement with your porch decor. With the right laser cutter and a little creativity, you can transform what once might have been a bland and boring porch into something full of charm and character!