Have you ever wanted to personalize your own stationery? Maybe you’ve seen beautiful business cards or labels and thought, “I wish I could make something like that!” Well, guess what? You totally can!
Let’s dive into the world of DIY stationery with a laser die cutter. Trust me, once you discover the wonders of this machine, you’ll never want to buy store-bought stationery again. Get ready to unleash your creativity!
Benefits of DIY Stationery
Cost-effective solution for stationery production
Creating your own stationery with a laser die cutter can save you money in the long run. Instead of outsourcing your design and printing needs, you can produce your stationery in-house, eliminating the need for expensive printing services. You can also minimize wastage by cutting only the quantity you need, reducing costs further.
Customization options for unique designs
With a laser die cutter, the possibilities for customization are endless. You can create designs that perfectly reflect your personal or brand identity. Whether you want to add your logo, a unique pattern, or intricate details, a laser die cutter enables you to achieve the exact design you envision. Stand out from the crowd with personalized stationery that is truly one-of-a-kind.
Efficiency and speed in cutting and shaping stationery
One of the main advantages of using a laser die cutter for stationery production is its efficiency and speed. The laser beam cuts through materials quickly and accurately, allowing you to produce multiple pieces in a short amount of time. This time-saving feature is especially beneficial for bulk orders. Whether you need a large quantity of business cards or address labels, a laser die cutter can fulfill your requirements efficiently.
Preparation
Designing your stationery layout
Before you start using your laser die cutter, it is important to take the time to design your stationery layout. Consider the purpose of your stationery, whether it’s for personal use or representing your business. Think about the elements you want to include, such as text, logos, or decorative patterns. Sketch out your design ideas or use design software to create a digital mock-up that you can then transfer to the laser cutter software.
Preparing the design files
Once you have finalized your design, you need to prepare the files for laser die cutting. Convert your design into a vector format, as vector graphics can be easily resized without losing quality. This format is ideal for laser cutting, as it allows for precise cutting lines. Save your design files as .AI, .EPS, or .SVG, as these are commonly accepted formats for laser die cutting.
Laser Die Cutting Techniques
Basic cutting techniques
The laser die cutter offers various cutting techniques to achieve different effects on your stationery. The basic cutting technique involves cutting all the way through the material to create intricate designs or shapes. This technique is commonly used for making business cards, invitations, or decorative elements. Practice your cutting techniques on scrap materials before moving on to your final stationery pieces.
Scoring and engraving techniques
In addition to cutting, a laser die cutter can also score and engrave materials. Scoring creates indentations or creases on the surface of the material, allowing for easy folding and bending. This technique is useful for creating intricate patterns or embossed effects. Engraving, on the other hand, involves removing the top layer of the material to create personalized designs or text. Experiment with scoring and engraving techniques to add dimension and texture to your stationery.
Inspiration and Ideas
Examples of stationery projects
To spark your creativity, here are some examples of DIY stationery projects that can be done with a laser die cutter:
- Greeting cards: Custom made for birthdays, holidays and more, and something that can’t be bought in a store.
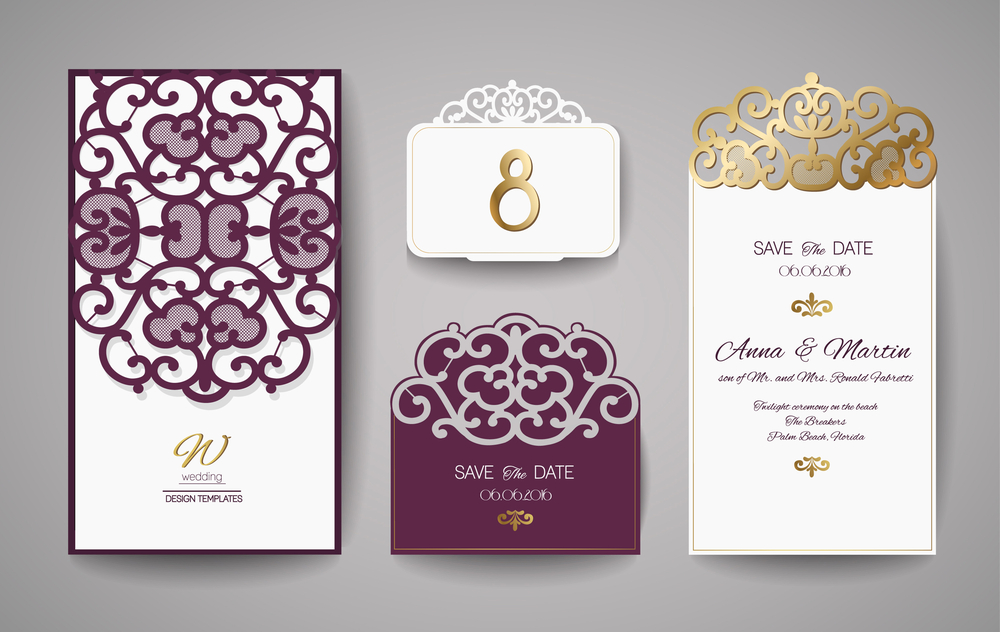
- Wedding invitations: Intricate wedding invitations and filigree envelopes with laser-cut details that match the theme of your special day. Add a touch of elegance and make your invitations stand out.
- Gift tags and labels: Make your gifts extra special by customizing gift tags and labels. Laser-cut designs add a personal touch and show that you put thought into your gift presentation.
- Bookmarks: Decorative bookmarks for avid readers, in a variety of materials.
- Stencils: Create custom stencils for art and craft projects. Whether you are painting or working with mixed media, a laser-cut stencil can help you achieve precise and repeatable designs.
- Stickers: Who doesn’t love a sticker? Create individual stickers or themed packs with your cutting machine.
- Personalized business cards: Unique business cards with your logo, name, and contact details. Experiment with different shapes and finishes to make a lasting impression.
- Gift boxes and packaging: Use your machine to cut out the shpe, and mark the fold lines for a special way to present your gifts.
Explore the possibilities of DIY stationery with a laser die cutter
With a laser die cutter, you can unleash your creativity and create personalized and professional-looking stationery at home. The cost-effective solution, customization options, and efficiency of laser cutting make it a fantastic tool for DIY enthusiasts. By following the steps outlined in this article and practicing proper safety measures, you can embark on your DIY stationery journey confidently. Enjoy the benefits of personalized and unique stationery that truly reflects your style and personality. Happy crafting!

